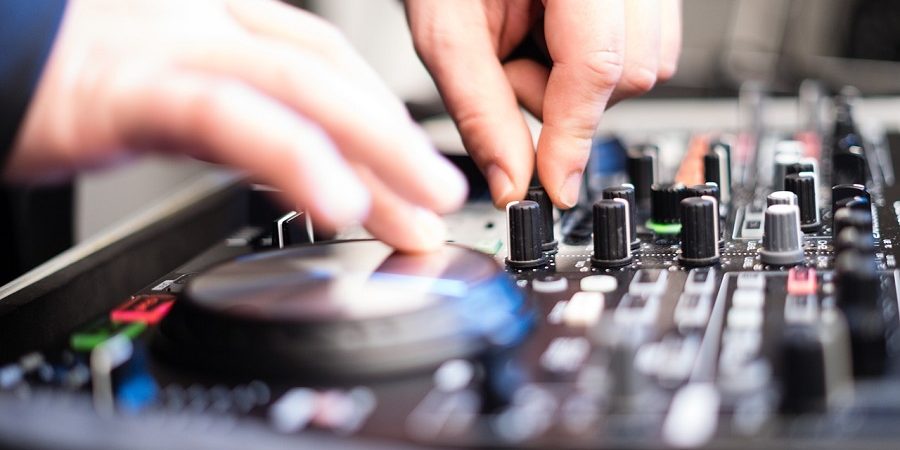
Sound plays the most important part with live performances and other musical events. The right sound check forms the foundation for testing how musicians can optimally fill a space with sound. The test will go off without a hitch if you follow these tips.
At the beginning, was the sound check…
Sure, for a sound check you need musicians, instruments, PA, monitoring and a mixing console. But you shouldn’t leave out the right microphone, DI speakers, and enough time for this step. This is when the sound technician’s skills are put to the test, pulling together individual components in harmony.
Tip 1: Watch the cables!
Of course it makes sense for the light and sound technology use separate cables to avoid conflicts in the sound signals. This is especially important with unsymmetrical mono plug cables as used with guitars in this regard. In this case, the cable works like an antennae that soaks up all the contaminating influences from the surroundings.
Tip 2: Pick the right microphone!
In addition to the choice of the right microphone, its placement and direction is decisive for the sound. The sound technician’s experience is very important because people have a great deal of choice for the individual sound when selecting the microphone. Just have the courage to use it! The better the microphone harmonizes with the instrument and the placement, the less has to be balanced out and corrected in the mixing consoles later.
Tip 3: Adjust the system to the space!
The conditions on the ground (room size, inside or outside event, etc.) are very important for setting the system. It’s recommend to have a supporting playback device with music on it that you know the sound of very well. Now the system has to be adjusted via equalizer (EQ) so that the material on the device sound like it should. It’s best to us an EQ for the stereo sum (aka the master EQ). It helps to have a collection of songs for this step that contains various types of music. This way soul can also “test out” the differing acoustic situation.
Important: the speech intelligibility should be front and center. But the clear and detailed hearing of instruments can’t be neglected either.
The following starting point should be present before the sound check: you insert the microphone or the DI box into the XLR port.
It makes sense to start the sound check on the console from left to right. Here you proceed as follows: first the bass drum and the rest of the drum set, then through the guitars to the vocals, only to test the other instruments in the end. For the appropriate communication between stage and FoH, you can use a talk-back microphone at the mixing console. On stage, you need some pressure on the vocal microphone to catch the needs of the musicians.
Check the individual sound settings – patience required!
The master fader on the mixing console should be set to 0dB. The faders in the subgroups should also be at 0dB, EQ and dynamics zeroed out.
In the next step, the instrument is played as loud as possible on the corresponding channel. Then the preamp, the gain is adjusted on the mixing console. Turn the gain controller till the Peak LED signals maximum strength. Now turn it back a big to have some head room for the gig. During a live show the musicians usually want a little more than the “loudest” strength from the sound check. Now you push the fader so far up until you get a good signal on the PA. Then the EQ is turned to the desired sound.
The dynamics are up next. As a device to limit the dynamics, adjust the compressor so that it only compromises the upper 3dB if possible. It can be further restricted later if necessary. But watch out: a counter signal is often quickly over-compromised and then doesn’t sound harmonious. This is followed by the gate, most importantly the drum set, cutting out a reverb, buzz or droning. This usually gives the sound more clarity.
Important rule of thumb: no gate on the vocals! In addition, it’s very helpful to have the various instruments play together during the sound check. This way you can recognize if they harmonize or even attack each other.
Once you’ve worked through all the instruments, then the levels above the fader are roughly set. Now the band should play a song together. While they do that, you should adjust louder and quieter parts to check the settings for all conditions.
If all of the sounds fit together, then the sound check is over. Just remember: “Don’t touch this!” Because every moved microphone or adjusted control has a negative effect on the band’s sound. Now there’s nothing in the way of a sonorous experience.


